9. Printers
URL: http(s)://url/printers
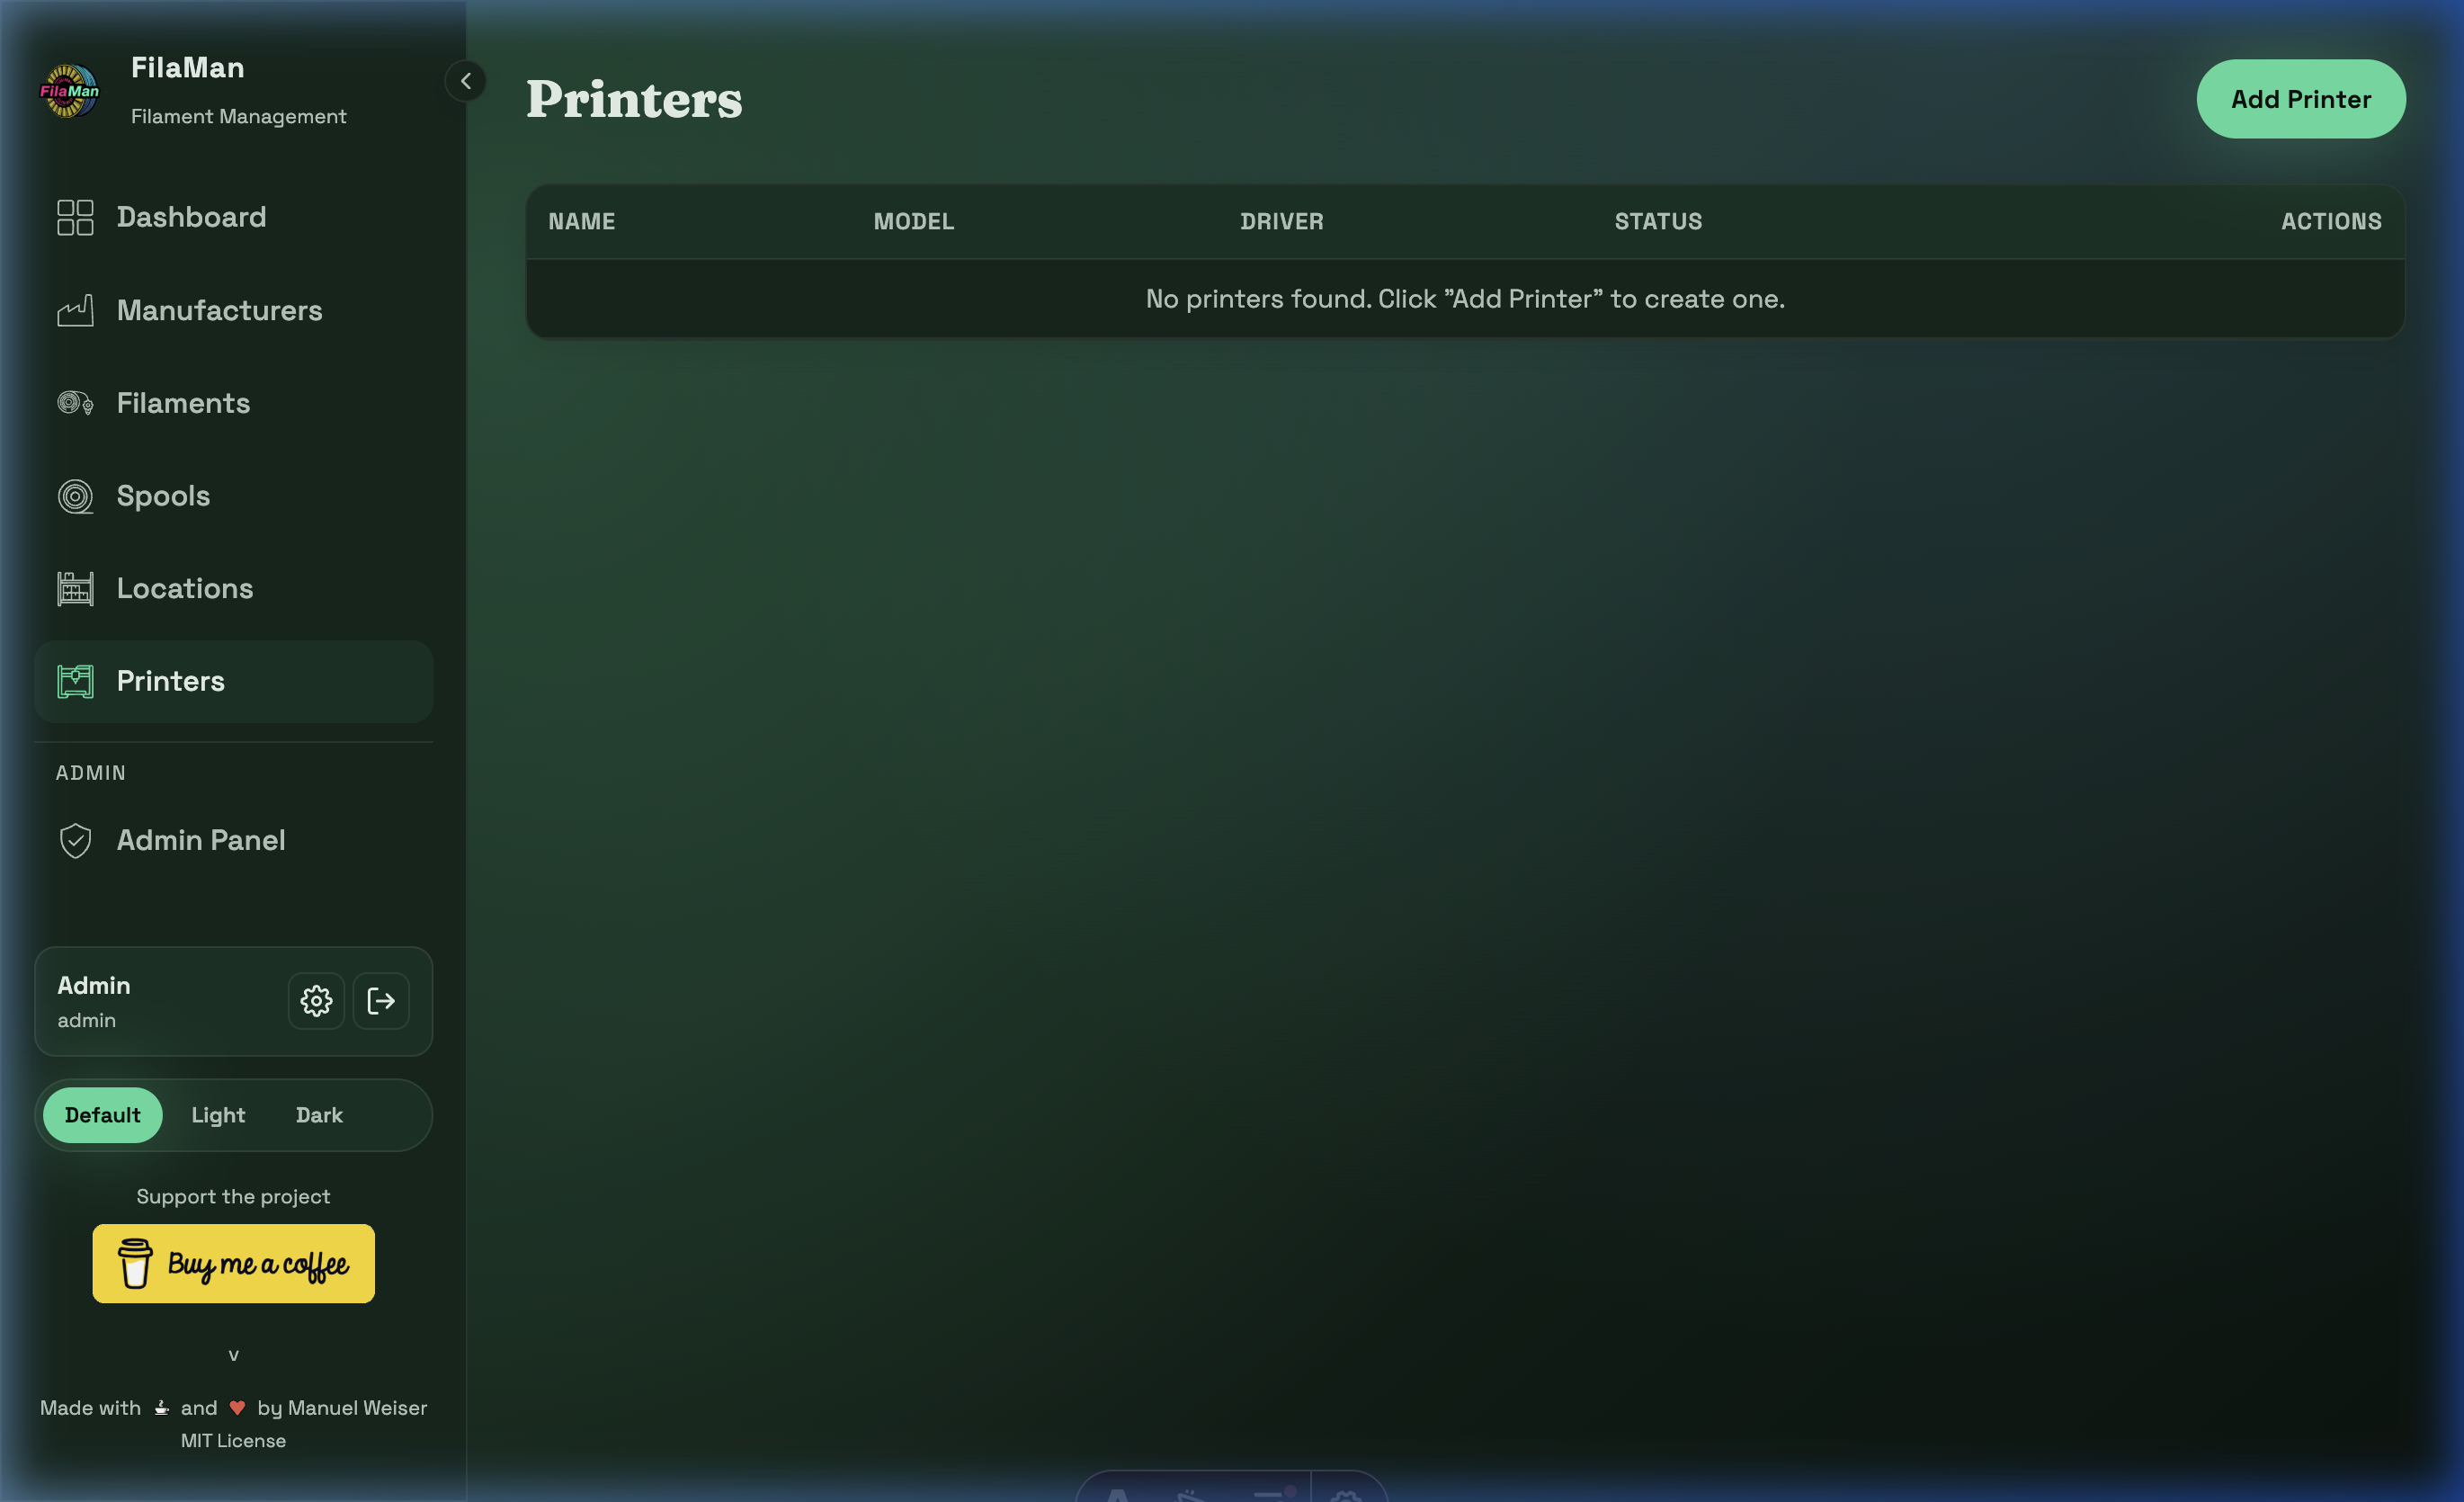
The Printers page is where you manage all 3D printers registered in FilaMan.
Table Columns
| Column | Description |
|---|---|
| NAME | Name of the printer (e.g. "Bambu Lab P1S #1") |
| MODEL | Printer model designation |
| DRIVER | Printer driver / connection type |
| STATUS | Current operational status of the printer (Connected / Disconnected) |
| ACTIONS | Edit / Delete |
Features
Add a Printer
Click "Add Printer" in the top right. The form contains:
- Name – Unique name for the printer
- Model – Model designation
- Driver – Driver or connection type (e.g. BambuLab, OctoPrint, Moonraker/Klipper)
- Additional printer-specific configuration options (depending on the driver)
Printer Integration
When a printer is connected, FilaMan can automatically track filament consumption and update spool fill levels, provided the printer is integrated via a compatible API.
BambuLab Integration
Supported Models
FilaMan supports all BambuLab printers with an MQTT interface:
- P1P / P1S – with AMS (Automatic Material System)
- X1 / X1C – with AMS
- A1 / A1 Mini – with AMS Lite
Configuration
When adding a BambuLab printer, the following information is required:
- Host – IP address of the printer on your local network
- Serial – Serial number of the printer (found on the printer or in the Bambu Handy app)
- Access Code – Access code (found in the printer's LAN settings)
- Printer Model – Model designation (e.g. P1S, X1C, A1) — determines whether AMS or AMS Lite is displayed
AMS Slot Display
After a successful connection, FilaMan shows all AMS slots and their current contents:
- AMS Slots – Up to 4 slots per AMS unit (AMS) or 4 slots (AMS Lite)
- External Tray – The printer's external spool feeder
- Displayed information includes: filament type, color, temperature range, and calibration status
Detailed information about the BambuLab plugin (printer parameters, how to populate them, import, migration) can be found on the dedicated plugin page: → Plugin: BambuLab
Setting Spools — Overview
FilaMan offers two ways to send filament settings (material type, color, temperature) to a printer slot:
| Method | Description |
|---|---|
| Manual | The user selects a slot on the spool page and sends the settings directly |
| Automatic | After weighing on an ESP32 scale, FilaMan detects insertion into an AMS slot and sends the settings automatically |
Manual Assignment (Spool → Printer)
A spool can be manually assigned to a specific printer slot via the spool detail page.
Prerequisites:
- The spool must be linked to a filament
- At least one BambuLab printer must be connected (Status: Connected)
Step by Step:
- Navigate to the Spools page (
/spools) and open the desired spool - In the lower section of the spool detail page, you will see a printer slot overview — for each connected printer, the AMS slots are shown as colored dots:
- 🟢 Colored dot = Slot occupied (color matches the inserted filament)
- ❌ Grey dot with X = Slot empty
- Click on a slot dot — a context menu opens with the following actions:
- "Assign spool" — Sends this spool's filament settings to the selected slot
- "Import to spool" — Imports the printer parameters (tray index, temperatures) from the slot into the spool
- "Import to spool & filament" — Imports the parameters into both the spool and its associated filament
- Select "Assign spool" — FilaMan automatically gathers the appropriate parameters (tray index, temperature ranges, material type, color) and sends them to the printer
- On success, a confirmation message appears; on failure, an error message is shown
Note: The sent parameters are merged from the printer parameters of both the spool and the filament. Spool parameters take priority over filament parameters. These can be adjusted in the respective spool or filament settings.
Tip: The slot overview updates automatically in real time via Server-Sent Events (SSE). When a spool is inserted into or removed from an AMS slot, the display changes immediately.
Automatic Assignment (Auto-Assignment)
Automatic spool assignment allows you to automatically send filament settings to the printer after weighing a spool on the ESP32 scale, as soon as the spool is inserted into an AMS slot.
Prerequisites:
- An ESP32 device (scale) must be registered in Device Management
- Auto-Assign must be enabled for the device (→ Admin: Devices)
- At least one BambuLab printer must be connected (Status: Connected)
Workflow:
- Weighing — A spool is placed on the ESP32 scale → weight is measured and sent to FilaMan
- Pending — FilaMan identifies the spool (via RFID or manual assignment), caches the filament data (material type, color, temperatures), and sets it as "Pending" on all connected printers
- Insertion — The spool is physically inserted into an AMS slot
- Detection — FilaMan detects the tray data change via MQTT and automatically sends the correct filament settings to that specific slot
- Completion — After successful transmission or timeout expiry, the pending status is cleared
How does detection work? FilaMan compares tray fields (filament type, color, calibration ID, setting ID) against the last known values with every MQTT status message. As soon as fields in a slot change (= new spool inserted), the pending filament is automatically sent to that slot.
Note: Auto-assignment works for both AMS slots and the external spool feeder.
Important: Auto-Assign is configured per device (scale), not per printer. When Auto-Assign is enabled, all connected printers are notified — the assignment happens automatically on whichever printer the spool is actually inserted into. Configuration: → Admin: Devices